核心是“公网中转节点(WireGuard服务端)+ PVE节点(WireGuard客户端)+ 外地设备(WireGuard客户端)”的架构
准备环境
- 必需组件:
- 1台带公网IP的中转服务器
- 2台PVE服务器(每台部署1台Linux虚拟机作为WireGuard客户端,也可直接在PVE宿主机部署);
- 外地设备(电脑/手机,安装WireGuard客户端)。
- 虚拟网段规划:
- 中转节点WireGuard IP:
10.0.0.1/24
- PVE服务器1的WireGuard IP:
10.0.0.2/24
- PVE服务器2的WireGuard IP:
10.0.0.3/24
- 外地设备的WireGuard IP:
10.0.0.10~20/24
在中转节点部署WireGuard服务端
1. 安装WireGuard
1
2
|
# Debian/Ubuntu系统
apt update && apt install wireguard iptables -y
|
2. 生成密钥对
1
2
3
4
5
6
|
# 生成服务端私钥和公钥
wg genkey | tee /etc/wireguard/privatekey | wg pubkey > /etc/wireguard/publickey

# 查看密钥(后续配置需要)
cat /etc/wireguard/privatekey  # 服务端私钥,记为S_PRI
cat /etc/wireguard/publickey   # 服务端公钥,记为S_PUB
|
3. 配置WireGuard服务端(/etc/wireguard/wg0.conf)
1
2
3
4
5
6
7
8
|
[Interface]
PrivateKey = S_PRI  # 替换为服务端私钥
Address = 10.0.0.1/24, 192.168.1.0/24    # 中转节点的虚拟IP 以及内网
ListenPort = 51820  # WireGuard默认端口
# 开启IP转发(让中转节点转发不同客户端的流量)
PostUp = echo 1 > /proc/sys/net/ipv4/ip_forward
PostUp = iptables -t nat -A POSTROUTING -o eth0 -j MASQUERADE  # eth0是中转节点的公网网卡
PostDown = iptables -t nat -D POSTROUTING -o eth0 -j MASQUERADE
|
4. 启动服务并设置开机自启
1
2
|
wg-quick up wg0
systemctl enable wg-quick@wg0
|
5. 开放中转节点的防火墙端口
在中转节点的云服务商控制台(如阿里云/甲骨文云),开放UDP 51820端口(WireGuard用UDP传输)。
在PVE节点部署WireGuard客户端
以“PVE服务器1”为例(PVE服务器2配置完全一致,仅虚拟IP改为10.0.0.3):
1. 安装WireGuard(PVE宿主机/虚拟机均可)
1
2
|
# PVE宿主机是Debian系统,直接安装
apt update && apt install wireguard -y
|
2. 生成PVE节点的密钥对
1
2
3
4
5
|
wg genkey | tee /etc/wireguard/privatekey | wg pubkey > /etc/wireguard/publickey

# 查看密钥(后续配置需要)
cat /etc/wireguard/privatekey  # PVE1私钥,记为P1_PRI
cat /etc/wireguard/publickey   # PVE1公钥,记为P1_PUB
|
3. 配置WireGuard客户端(/etc/wireguard/wg0.conf)
1
2
3
4
5
6
7
8
9
|
[Interface]
PrivateKey = P1_PRI  # 替换为PVE1的私钥
Address = 10.0.0.2/24  # PVE1的虚拟IP

[Peer]
PublicKey = S_PUB  # 替换为中转节点的公钥
Endpoint = 中转节点公网IP:51820  # 如123.45.67.89:51820
AllowedIPs = 10.0.0.0/24, 192.168.1.0/24    # 中转节点的虚拟IP 以及内网
PersistentKeepalive = 25  # 保持内网穿透连接(避免NAT超时)
|
4. 启动客户端并设置开机自启
1
2
|
wg-quick up wg0
systemctl enable wg-quick@wg0
|
在外地设备部署WireGuard客户端
以Windows为例:
- 下载WireGuard客户端:官网下载;
- 打开客户端,点击“新建隧道”,输入配置:
1
2
3
4
5
6
7
8
9
|
[Interface]
PrivateKey = 本地生成的私钥  # 点击客户端的“生成密钥对”自动生成
Address = 10.0.0.10/24  # 外地设备的虚拟IP

[Peer]
PublicKey = S_PUB  # 中转节点的公钥
Endpoint = 中转节点公网IP:51820
AllowedIPs = 10.0.0.0/24  # 仅访问虚拟网段(也可填0.0.0.0/0实现全局代理)
PersistentKeepalive = 25
|
- 保存后点击“激活”,即可接入虚拟网络。
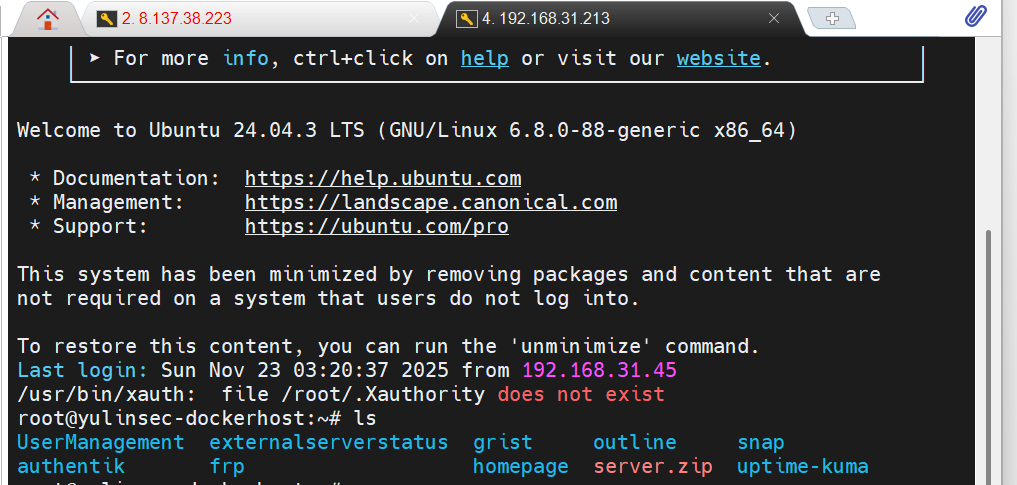
验证组网是否成功
ping 192.168.31.213 dockerhost 的ip